

Retail Screen Placement Best Practices for Managers

Retail screen placement best practices are defined as the strategic positioning of digital displays to capture customer attention, influence purchasing decisions, and drive measurable sales outcomes. Where you mount a screen matters as much as what it shows. Factors like traffic flow, ambient brightness, mounting height, and content context each determine whether a screen performs or gets ignored. This guide covers the placement decisions that separate high-performing retail digital signage from expensive wallpaper, with specific specifications, zone-by-zone guidance, and content strategies built for retail managers who need results.
1. How do traffic flow and customer dwell zones influence screen placement?
Screen placement in high-traffic zones is the single most reliable way to guarantee impressions. Entrances, main aisles, and checkout lines all generate consistent foot traffic, making them the foundation of any effective retail display strategy. The goal is to intercept customers at the moment they are most likely to engage.
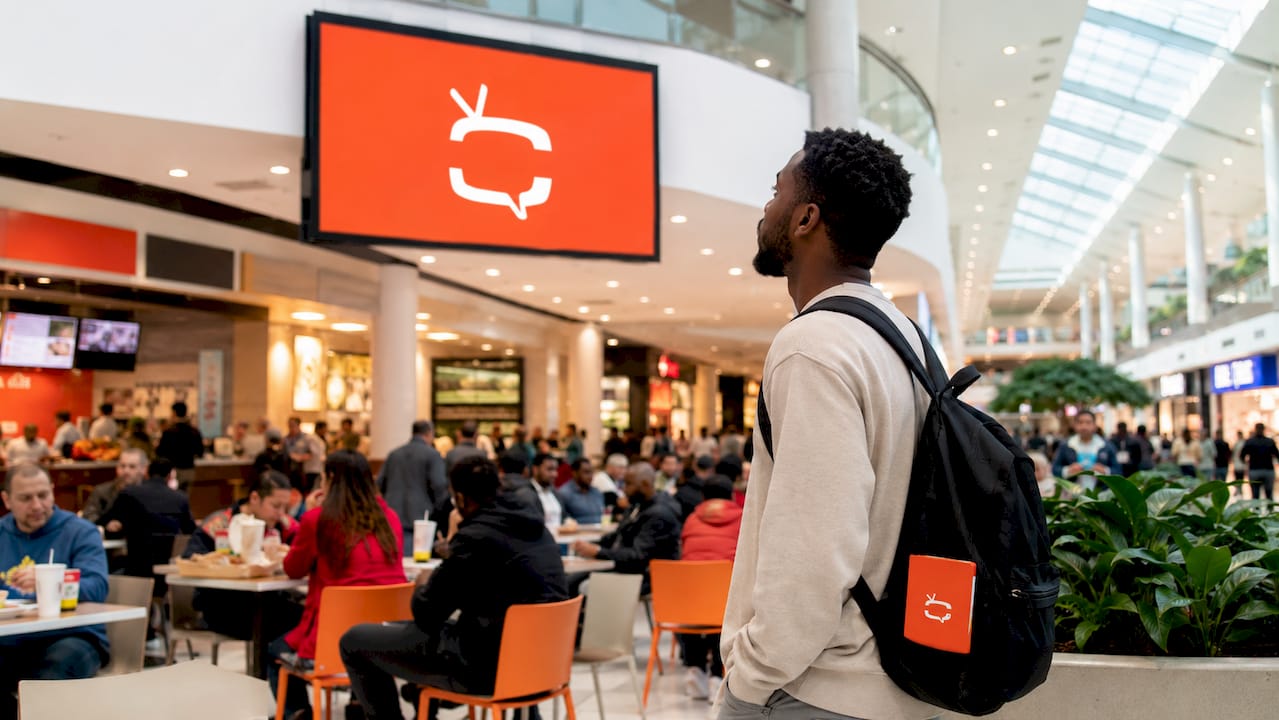
Dwell zones are where placement pays off most. Checkout queues, fitting room waiting areas, and service counters hold customers in place for 60 seconds or more. That time is enough to deliver a complete promotional message, a cross-sell prompt, or a loyalty program reminder. Screens placed in fast-moving main aisles, by contrast, get a fraction of a second of attention.
Digital signage effectiveness collapses when screens block customer movement or create aisle congestion. A screen mounted at the end of a narrow aisle may generate impressions but will frustrate shoppers if it narrows the path. Endcap placements at the head of aisles solve this problem by capturing attention without obstructing flow. Screens near endcap displays consistently outperform mid-aisle placements because they sit at natural decision points.
Place screens at entrances to set the tone and promote current offers immediately.
Target checkout queues and waiting areas for dwell-zone placements.
Use endcap screens at aisle heads to capture attention at the point of decision.
Avoid narrow aisle placements that restrict movement or create bottlenecks.
Map your store’s heat map data before finalizing any screen location.
Pro Tip: Walk your store at peak hours and note where customers naturally pause or slow down. Those spots are your highest-value screen locations, regardless of what your floor plan suggests.
2. What are the recommended ergonomic mounting heights for retail displays?
Mounting height determines whether a screen lands in a customer’s natural line of sight or gets missed entirely. Standing customers benefit from a screen center mounted at 155–170 cm from the floor. Seated customers in waiting areas or fitting rooms need the center dropped to 120–140 cm. These ranges align with average adult eye levels and prevent neck strain that causes customers to look away.
Screen tilt also matters. A 5–10 degree downward tilt follows the natural sightline of a standing adult and reduces glare from overhead lighting. Screens mounted perfectly vertical often catch ceiling light reflections that wash out the image. The tilt is a small adjustment with a significant impact on readability.
Screen orientation should match the physical shape of the viewing zone. Portrait orientation suits checkout queues because customers stand in a narrow, forward-facing line. Landscape orientation works better at entrances and hero walls where the viewing angle is wide. Mixing orientations without a zone-based rationale wastes screen real estate and confuses content designers.
Standing zones: center screen at 155–170 cm from floor.
Seated zones: center screen at 120–140 cm from floor.
Apply a 5–10 degree downward tilt to reduce glare and match natural sightlines.
Use portrait orientation at checkout queues and narrow corridors.
Use landscape orientation at entrances, hero walls, and wide promotional zones.
Pro Tip: Bring a tape measure and a colleague to your site survey. Have them stand at the intended viewing position while you mark the wall. Eye-level placement confirmed in person beats any measurement taken from a floor plan.
3. How does screen brightness affect placement in different retail zones?
Brightness is the most commonly underestimated specification in retail screen placement. Window-facing digital displays need 3,500–5,000 nits to remain visible in direct sunlight. A standard indoor panel runs at 250–500 nits. That gap means a consumer TV in a sunny storefront window becomes effectively invisible during daylight hours.
Consumer TVs operate 6–8 hours daily and are not built for the 12–16 hour runtime that retail window placements demand. Direct sunlight causes panel blackening and early failure in consumer-grade hardware. The cost of replacing a failed consumer TV every few months quickly exceeds the upfront investment in a commercial-grade display.
Indoor zones away from direct sunlight require far less brightness. The table below maps brightness requirements to retail zone type.
Retail zone | Ambient light level | Recommended brightness |
Direct sun-facing window | Very high (direct sunlight) | 3,500–5,000 nits |
Covered storefront or entrance | High (indirect daylight) | 1,500–3,000 nits |
Main aisle or interior floor | Moderate (artificial lighting) | 500–700 nits |
Checkout queue or fitting room | Low to moderate | 350–500 nits |
Anti-glare coatings and thermal management systems are non-negotiable for any screen placed near a window. Without them, heat buildup shortens panel life and glare reduces readability even on high-brightness units.
Pro Tip: Test your window placement at the brightest point of the day before committing to hardware. A brightness reading taken at noon in summer tells you exactly what nit level you need, and it prevents an expensive specification mistake.
4. What content strategies maximize the effectiveness of screen placement?
Content that matches the placement context converts. 62% of shoppers make a purchase after viewing context-driven in-store digital screens placed near the relevant product. That figure drops sharply when screens show generic brand content unrelated to the products nearby. Point-of-decision content, such as product details near shelves or cross-sell prompts at checkout, outperforms broad promotional messaging every time.
Dayparting aligns your content with store footfall patterns throughout the day. A coffee promotion works at 8:00 AM. A meal deal works at noon. A family offer works at 4:00 PM. Scheduling content to match customer intent at each time block is one of the highest-return adjustments you can make without changing a single screen location. Platforms like Signstream make dayparting simple by letting you schedule content changes across multiple screens from a single dashboard.
Content freshness is equally critical. Rotating screen content every 4–6 weeks prevents screen blindness, the phenomenon where regular customers stop registering a display they have seen too many times. Tying content rotation to your promotional calendar keeps messaging current and relevant. You can find a practical framework for this in a retail promotion checklist built specifically for digital screens.
Use the 3x5 rule: no more than 3 lines of text with 5 words per line for fast-moving zones.
Schedule dayparted content to match peak footfall periods throughout the day.
Rotate content every 4–6 weeks, aligned to your promotional calendar.
Place cross-sell content at checkout to capture last-minute purchase decisions.
Use double-sided window displays to serve street-level passersby and in-store customers with separate, tailored content simultaneously.
5. How to calculate optimal viewing distance for your screens
Viewing distance determines the minimum pixel pitch your screen needs to deliver a sharp image. The standard formula is: Viewing Distance (meters) = Pixel Pitch (mm) x 2.5. A P1.5 pixel pitch suits 1–2 meter viewing distances, while a P4.0 pitch works for distances of 8 meters or more. Choosing the wrong pitch for the viewing distance produces a pixelated image that damages brand perception.
Apply this formula before specifying any screen. Measure the distance from the intended screen position to where customers will actually stand or walk. A screen mounted high on a wall in a large-format store needs a very different pixel pitch than a screen at eye level in a compact boutique. Getting this wrong is an expensive mistake that no amount of content quality can fix.
Viewing distance also affects content design. Text that reads clearly at 2 meters becomes illegible at 6 meters if the font size is not scaled accordingly. Design content for the actual viewing distance of each placement zone, not for how it looks on a laptop screen during production.
6. What practical steps help avoid common installation pitfalls?
A physical site survey before installation prevents the most common and costly rollout failures. Site surveys must verify power availability, network access, and structural integrity for VESA mounting. Discovering that a wall cannot support a commercial display after the hardware has arrived adds days to the timeline and real cost to the project.
Standardizing your hardware selection also reduces long-term complexity. Retailers should limit their deployment to 2–3 hardware SKUs across all locations. Fewer SKU variants mean simpler spare parts management, faster technician training, and lower support costs over the life of the network. This discipline pays off at scale.
Conduct a physical site survey for power, network, and structural mounting before ordering hardware.
Never repurpose consumer TVs for commercial window placements.
Plan clearance space around each screen for maintenance access.
Standardize on 2–3 hardware SKUs across your entire network.
Use ambient light sensors or brightness scheduling to reduce energy use and extend panel life.
Confirm that content format and font sizes match the actual viewing distance of each zone.
Pro Tip: Build a one-page site survey checklist and complete it for every planned screen location before any hardware is ordered. It takes 20 minutes per location and eliminates the most common causes of installation delays.
Screens placed near in-store promotions perform best when the installation is clean, the content is relevant, and the hardware is rated for the environment. Cutting corners on any of these three factors reduces the return on your entire screen network.
Key takeaways
Retail screen placement best practices require aligning mounting height, brightness specification, viewing distance, and content context to the specific conditions of each store zone.
Point | Details |
Match brightness to ambient light | Window placements need 3,500–5,000 nits; indoor aisles need 350–700 nits. |
Mount at eye level for the activity | Standing zones: 155–170 cm center height; seated zones: 120–140 cm. |
Place screens at dwell points | Checkout queues and waiting areas deliver far higher engagement than fast-moving aisles. |
Rotate content every 4–6 weeks | Regular content refresh prevents screen blindness and sustains shopper attention. |
Survey every site before installation | Verify power, network, and structural support before ordering any hardware. |
What I’ve learned from watching retailers get screen placement wrong
Retail managers consistently underestimate how much placement context shapes screen performance. I have watched stores invest in high-quality displays and then mount them at the wrong height, in the wrong zone, with the wrong content. The screens look impressive on day one and get ignored by week three.
The most common mistake is treating every screen location as equivalent. A screen at the entrance and a screen at checkout serve completely different purposes and need different content, different brightness levels, and sometimes different hardware. Treating them the same wastes the potential of both.
Windows are the most underutilized real estate in retail. A storefront window display is an acquisition tool that works 24 hours a day, reaching people who have never set foot in your store. The hardware investment for a proper high-brightness window display is real, but the return on capturing street-level attention before a customer even enters is equally real. Retailers who treat their windows as an afterthought are leaving their highest-visibility surface idle.
The future of retail screen placement is data-driven. Pilot testing two or three placement configurations before a full rollout gives you actual performance data instead of assumptions. AI-driven content adaptation, which adjusts messaging based on time of day, weather, or foot traffic density, is already available and will become standard practice. Retailers who build their screen networks with flexibility and measurement in mind will adapt. Those who install and forget will not.
— DKS
Signstream makes retail screen placement work at scale
Putting the right content on the right screen at the right time is exactly what Signstream is built for. The platform lets you manage unlimited screens from any device, schedule dayparted content across your entire network, and update promotions instantly without technical expertise.
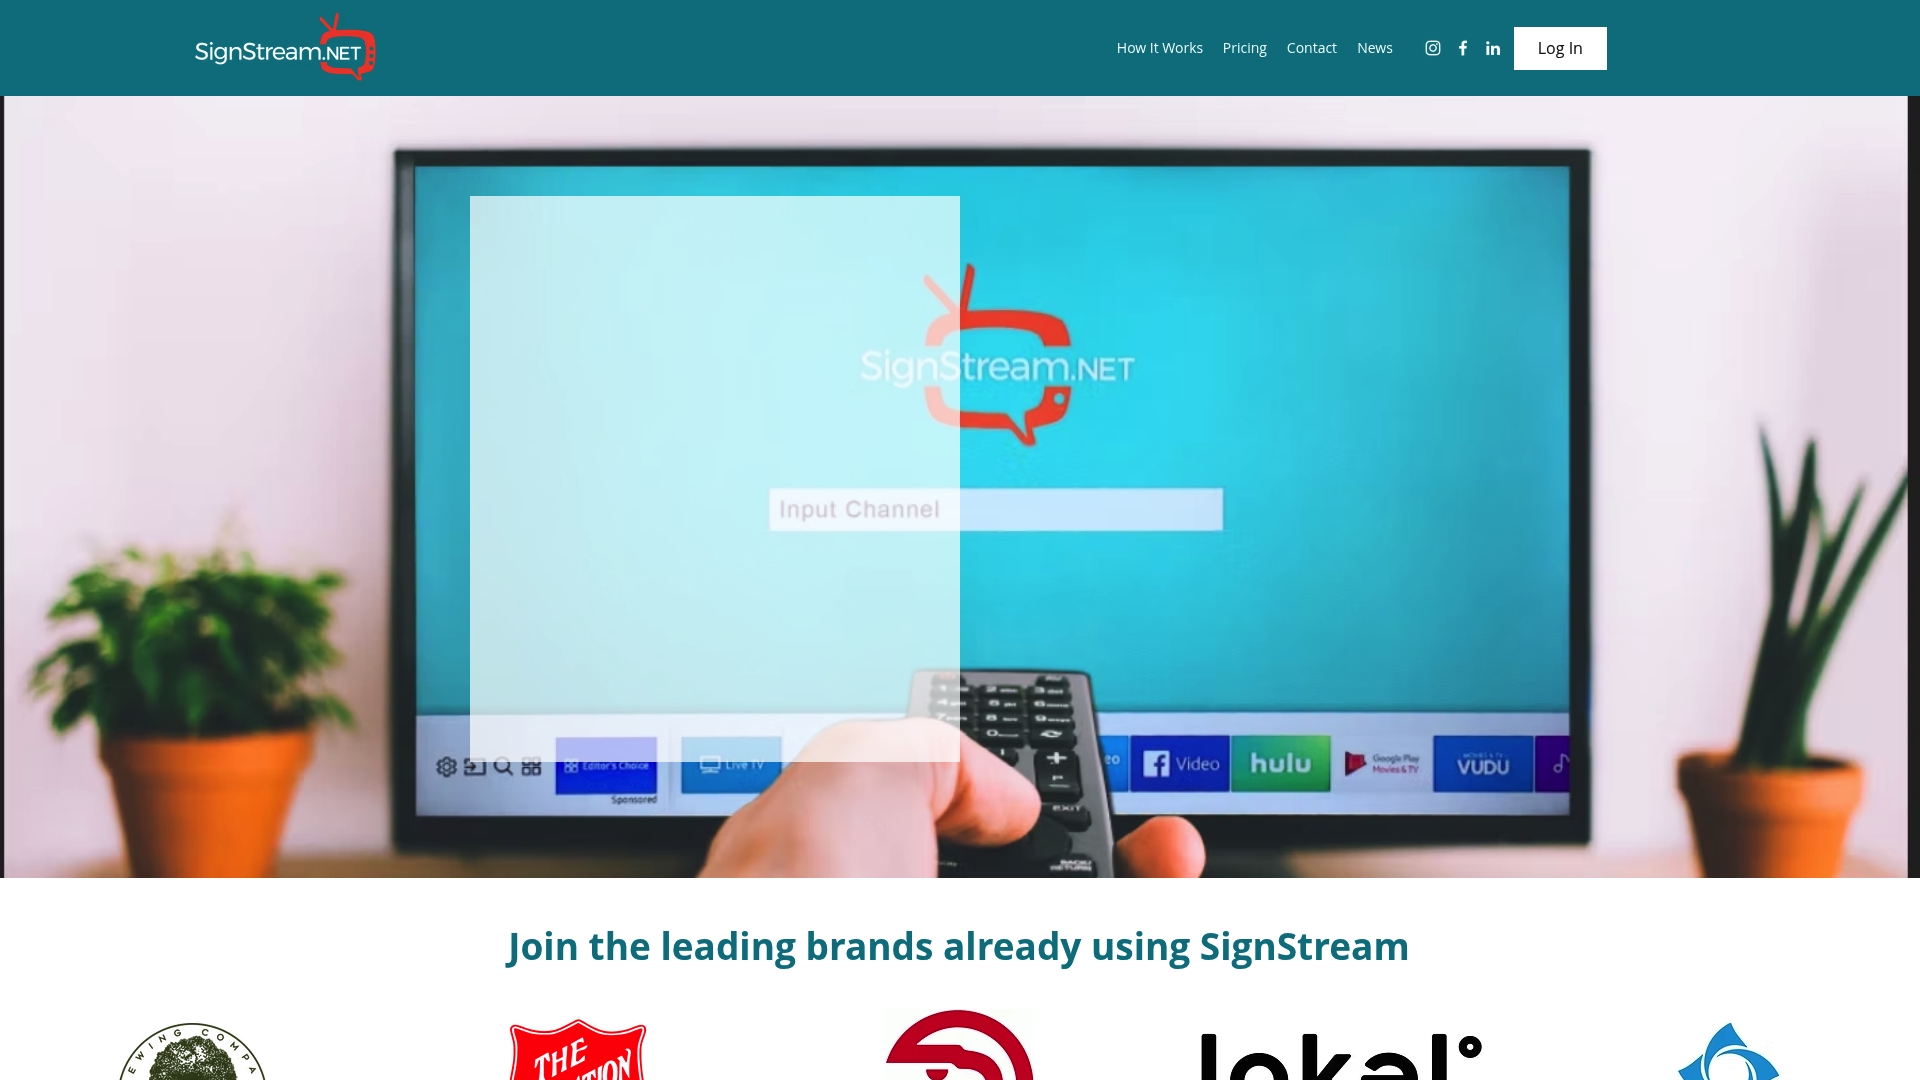
Signstream’s interactive ad platform connects your screens to a live ad exchange marketplace, so your displays generate revenue even when you are not actively promoting your own products. Retailers using Signstream have reported measurable lifts in engagement and sales after implementation. Whether you are placing your first screen or managing a multi-location network, Signstream gives you the tools to run your digital signage efficiently and profitably from day one.
FAQ
What is the optimal mounting height for retail digital screens?
Mount screen centers at 155–170 cm from the floor for standing customers and 120–140 cm for seated areas. Apply a 5–10 degree downward tilt to match natural sightlines and reduce glare.
How bright does a window-facing retail screen need to be?
Window-facing displays require 3,500–5,000 nits to remain visible in direct sunlight. Standard consumer TVs at 250–400 nits are ineffective in this environment and will fail under sustained retail operating hours.
How often should retail screen content be updated?
Content should rotate every 4–6 weeks, aligned to your promotional calendar. Regular rotation prevents screen blindness and keeps messaging relevant to current offers and seasonal campaigns.
Does screen placement affect purchase behavior?
Yes. Research shows 62% of shoppers make a purchase after viewing context-driven screens placed near the relevant product. Placement at the point of decision, not just high-traffic areas, is what drives conversion.
What screen orientation works best at checkout?
Portrait orientation is the best choice for checkout queues because it aligns with the narrow, forward-facing field of vision of customers standing in a single-file line. Landscape orientation suits wider zones like entrances and promotional walls.
Recommended
Comments